Okay, this recipe sort of came by chance. I had some beetroots in my fridge that were starting to look a bit sad, so decided that they better be cooked up and eaten and like now ! I hate any form of waste, so …. I was wondering how I could incorporate cooked beetroot into like a pie kind of thing or pizza. The pizza idea intrigued me, but sadly I didn’t have enough gluten-free flour at hand, so that idea went out the window. Then I remembered I had some frozen store-bought puff pastry ….yes, don’t stone me, it happens, I am all for the quick and easy sometimes :-), and really lets get real, all that effort in making pastry, for a quick little pie goodie…..store-bought wins! well, today it did !!!
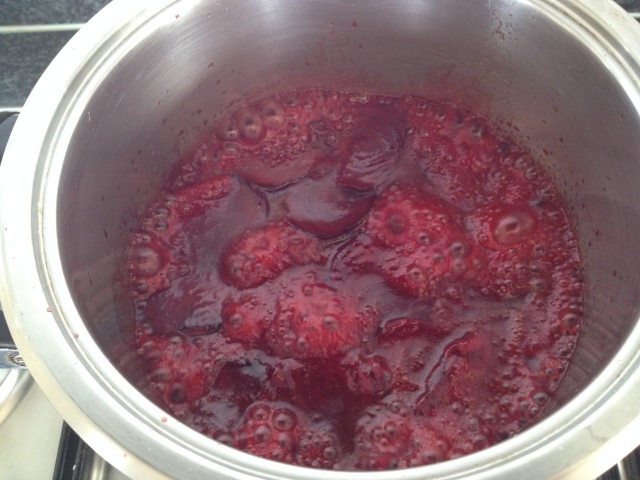
Once the pastry had de-frosted it was all plain sailing. I caramelised the beets in syrup and butter, this is a trick my mom used to use for caramelising beets for a beets salad, and it works like a dream, so thought, why the heck not now… It’s quick and so delicious, I can literally eat the beets from the pot this way (just saying).
The combo of feta and beetroot always works for me, so the rest was history with my fresh rocket in the garden looking a bit bedraggled with the weather we have been having…and of course, it wouldn’t be an invention with me if nuts weren’t involved. I dry toasted the walnuts. I am sure any nuts would do for that crunch, it is just that I had walnuts and I was sort of in the mood to use whatever I had at hand without venturing out to the shops.
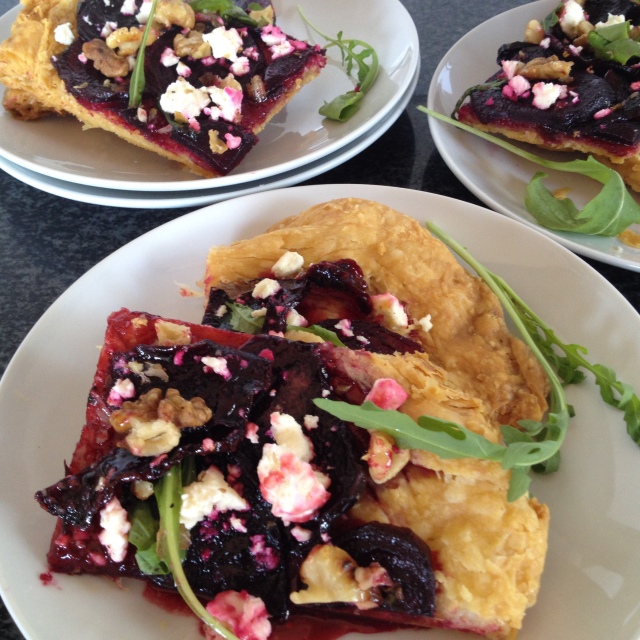
Need I say, this Caramelised Beetroot, Feta, Rocket and Walnut Tart is a keeper… It takes a bit of time to do, but it is definitely worth it 🙂 . The time issue is really with the pastry, and really no biggie. I just found it best to actually bake the pasty first to ensure that the pastry cooked through perfectly.
It is great just straight from the oven, of course…but it also is equally as nice cold.
Oh, and before I forget, please excuse the crazy shaped tart base…it just happened, and I honestly was so wanting this tart to happen…I just could not be bothered to re-roll it again…so it is, sort of rustic looking 🙂 .
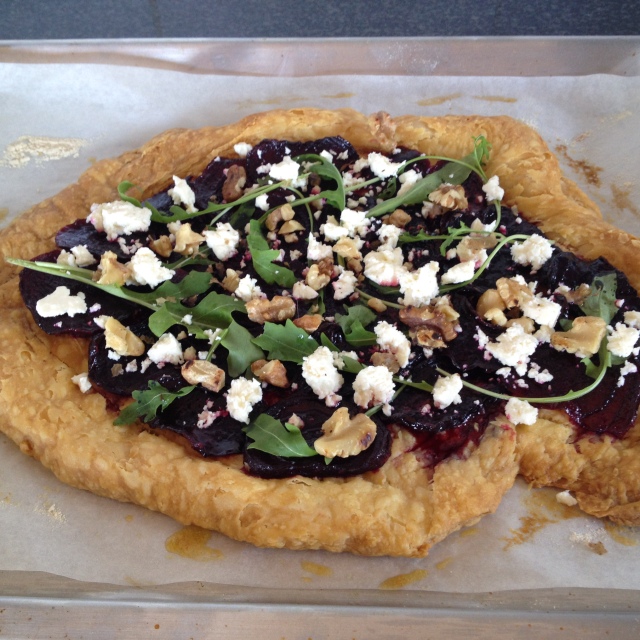
Caramelised Beetroot, Feta, Rocket and Walnut Tart
Preparation time: 20 minutes
Cooking time: 1 hour and 5 minutes
Total time: 1 hour and 25 minutes
Serves 2 – 4
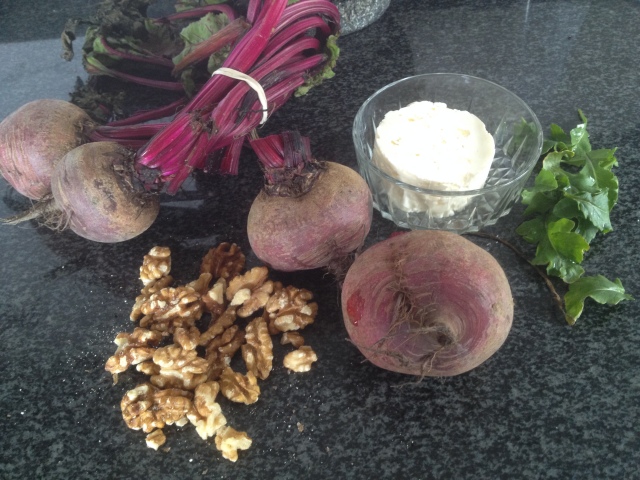
Ingredients:
80 grams salted butter
130 grams traditional golden syrup
280 grams fresh sliced beetroot
400 grams puff pastry
100 – 120 grams feta cheese disc, crumbled
handful of fresh rocket
handful of toasted walnuts
melted butter for basting pastry
Instructions:
Preheat the oven to 180 degrees Celsius /350 degrees Fahrenheit.
Line a baking tray (approximately 40 x 28 centimeters/15.5 x 11.00 inches in size) with baking paper and dust with a little flour to prevent any sticking.
Cut the tops and bottoms off the beetroots and peel. Slice the beetroots into fairly thin-ish slices. This is quite a messy job, and your hands will end up looking ….ummmm not so good with pink/red beetroot stains all over. Just work quite quickly with the beets and then wash your hands and hopefully they stains will go and you won’t look as if you were involved in a crime scene! (or put gloves on, or if you can operate with plastic bags over your hands, go for it).
Anyway once that is done, the worst is over.
Melt the butter in a small pot, this will take a few seconds, then add the syrup, stir around quickly. Place the sliced beetroot into the syrup mixture and allow to cook for literally 8 minutes on high, turn the heat off and remove the pot from the stove.
Then, sprinkle some flour on a flat surface and start to roll out your pastry to about 2 – 3 millimeters in thickness. To give it a rustic feel (like mine), don’t be too pedantic about what shape it happens to be.
Place the pastry on your greased and floured baking tray.
Then, with a knife, gently but firmly make an indentation about 2 – 3 centimeters from the edge of your pastry shell all the way around, but not actually piercing the pastry straight through. (This acts as a guide for the pastry, and when it cooks that 2 -3 centimeter section actually rises very slightly and forms like a lip around the pastry base…quite cool hey.)
Using a fork, prick the inside of the pastry base. Do not prick the section from the edge of the pastry to the line that you made 2 – 3 centimeters in from the pastry.
Brush the entire pastry shell with the melted butter for basting.
Now, place the pastry shell into the oven, and allow to cook for about 35 minutes and then check it. Mine by this time was getting slightly golden, but it still was not cooked properly through, so I put a piece of aluminium foil over with the shiny side upwards from the pastry and let it cook for a further 15 minutes. Once the base is cooked, take it out of the oven.
Take the caramelised beetroot from the pot with a slotted spoon and place on top of all the fork holes (on your pastry shell)
Baste the edges of the pastry again with a little melted butter.
Place in the preheated oven for a further 15 minutes or until the pastry has turned a nice golden brown.
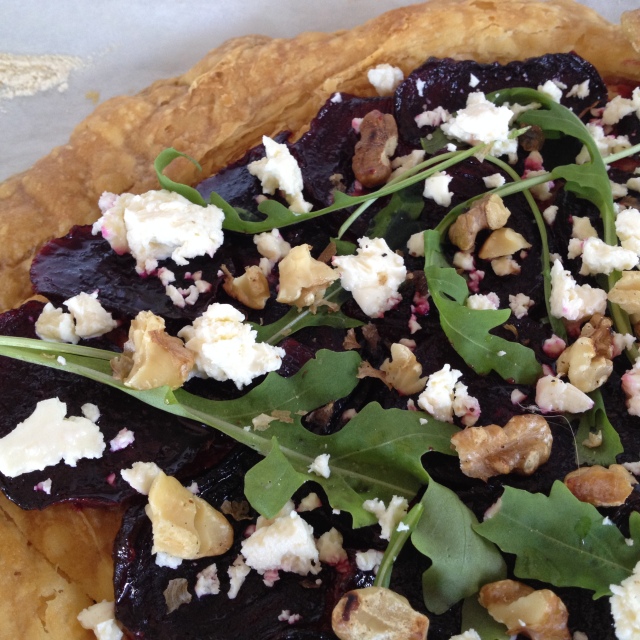
Once done, remove from the oven, top with chunks and crumblings of feta cheese, loads of fresh rocket leaves and dry toasted walnuts.
This is best straight from the oven, so cut and serve hot !
Enjoy 🙂
NB* To dry toast walnuts: Place raw walnuts in a frying pan, do not add any oil, as nuts contain their own natural oils. With a spatula, keep moving the walnuts around, otherwise they could burn. After a few minutes you will find the walnuts starting to toast. Do not leave them unattended on the stove or they will burn. Once done, remove the pan from the stove and allow to cool.


